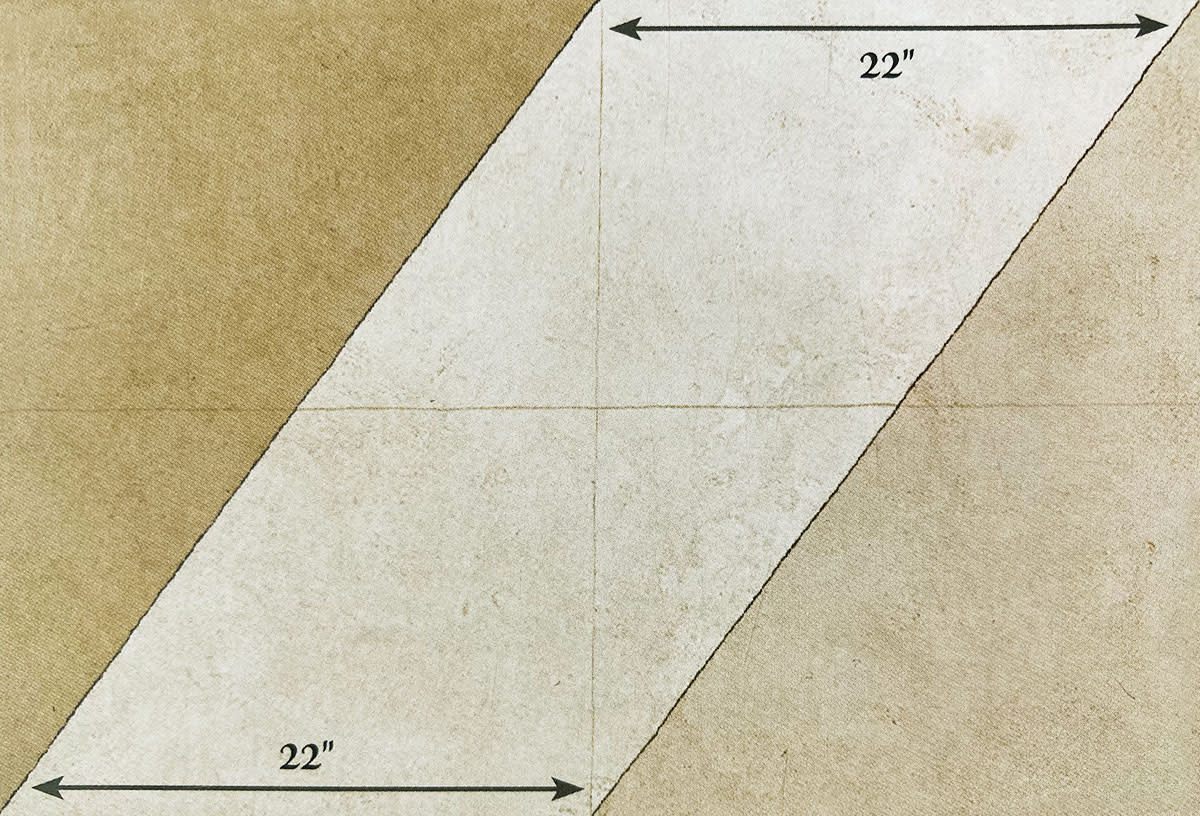
Once the battlefield has been set up with terrain, and the objectives the armies will battle over, be they treasure troves or strategic landmarks, have been placed, it is time to determine which deployment map will be used. To do this, one of the players rolls on the table below:
Battle March Deployment
D6 | Deployment Map |
1 | Pitched Battle |
2 | Close Encounter |
3 | Opposed Flanks |
4 | Meeting Engagement |
5 | Mountain Pass |
6 | Outflank |
Deployment
Once one player has chosen which deployment map will be used, their opponent chooses their deployment zone. Then, the winner of a roll-off deploys the first unit. Finally, the players deploy their armies using the alternating units method.
Alternate Deployments: Should the players wish, the Close Encounter, Opposed Flanks, Meeting Engagement and Outflank deployment maps can all easily be reversed, shifting the players' deployment from the right hand side of the battlefield to the left. Depending upon the placement of terrain, this simple change can have quite a dramatic impact upon the game and is therefore something players are encouraged to consider. If in doubt, simply roll a D6 and let fate decide.
1. Pitched Battle
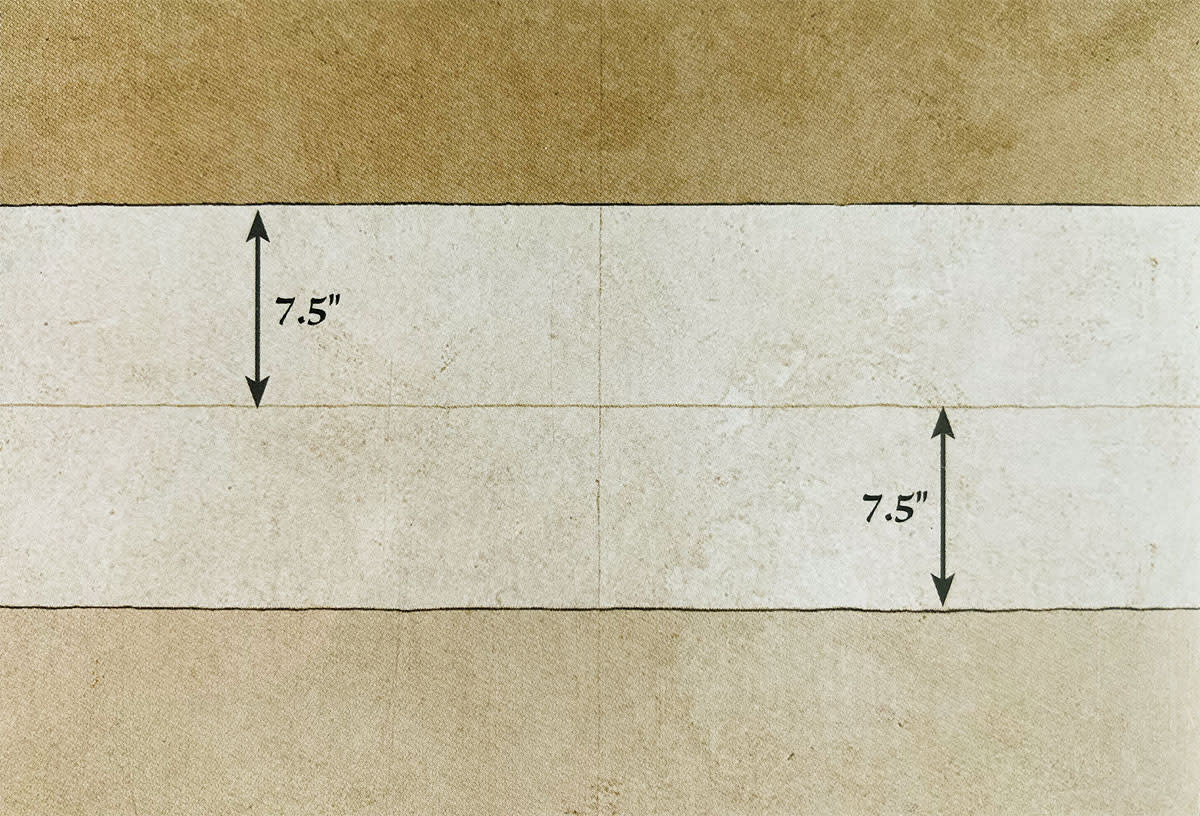
2. Close Encounter
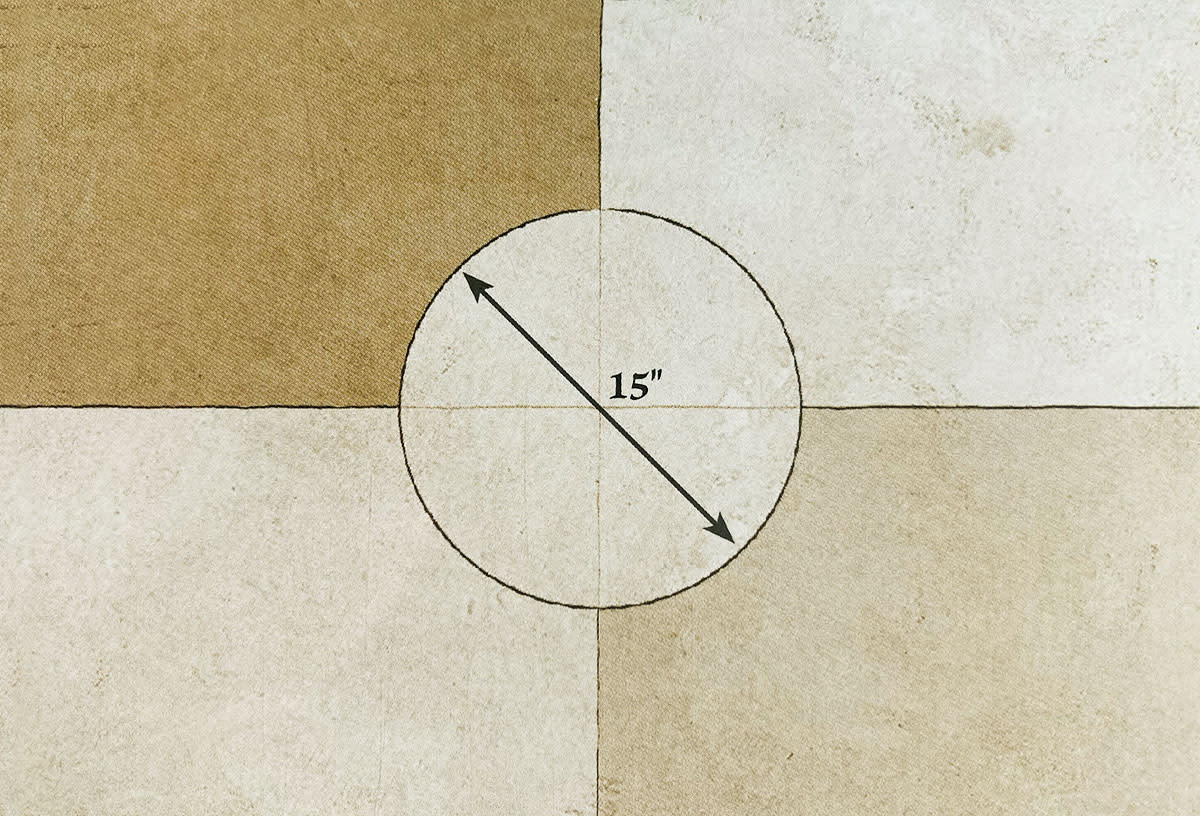
3. Opposed Flanks
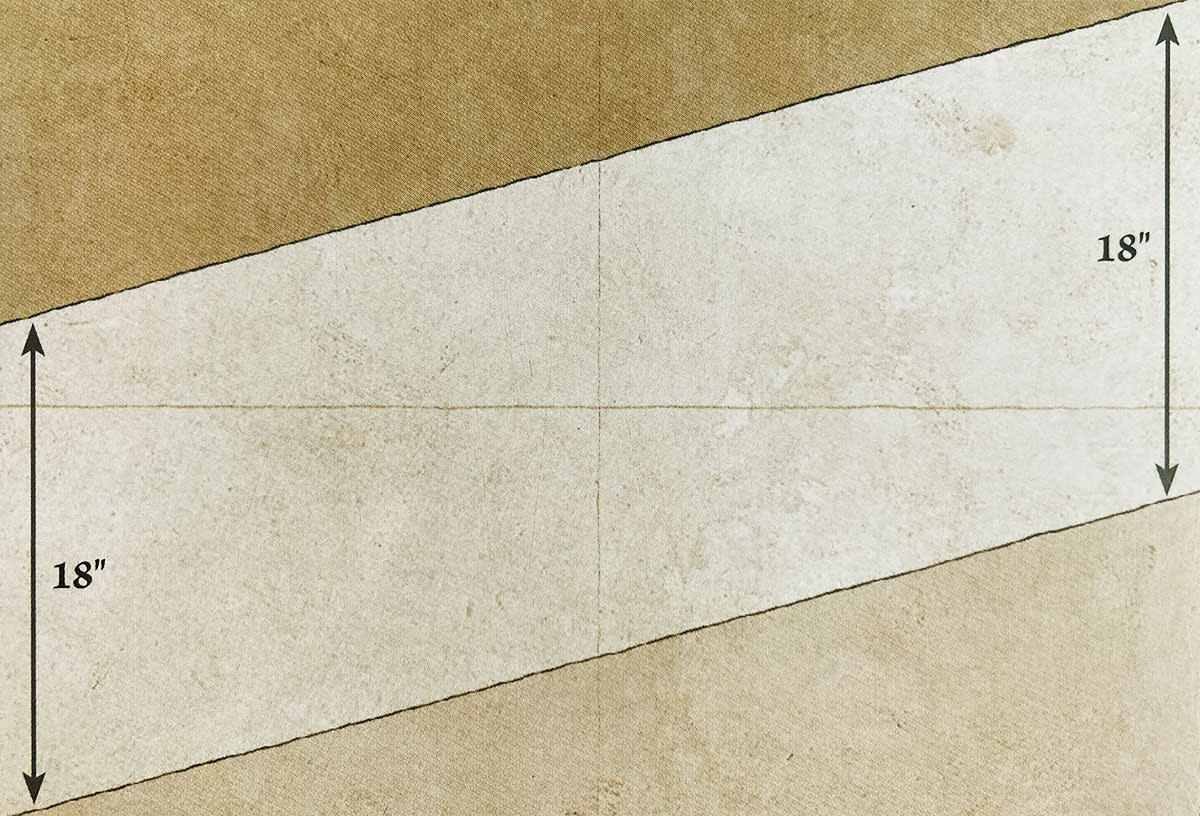
4. Meeting Engagement
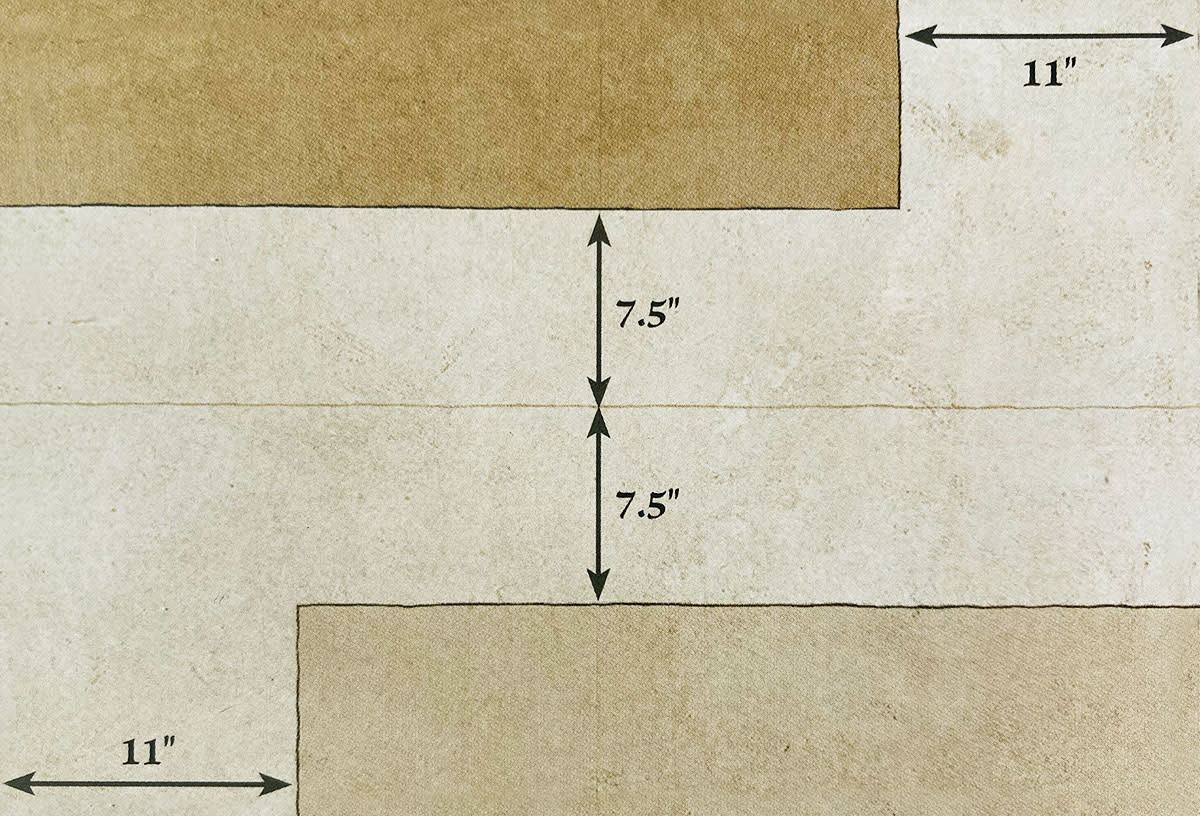
5. Mountain Pass
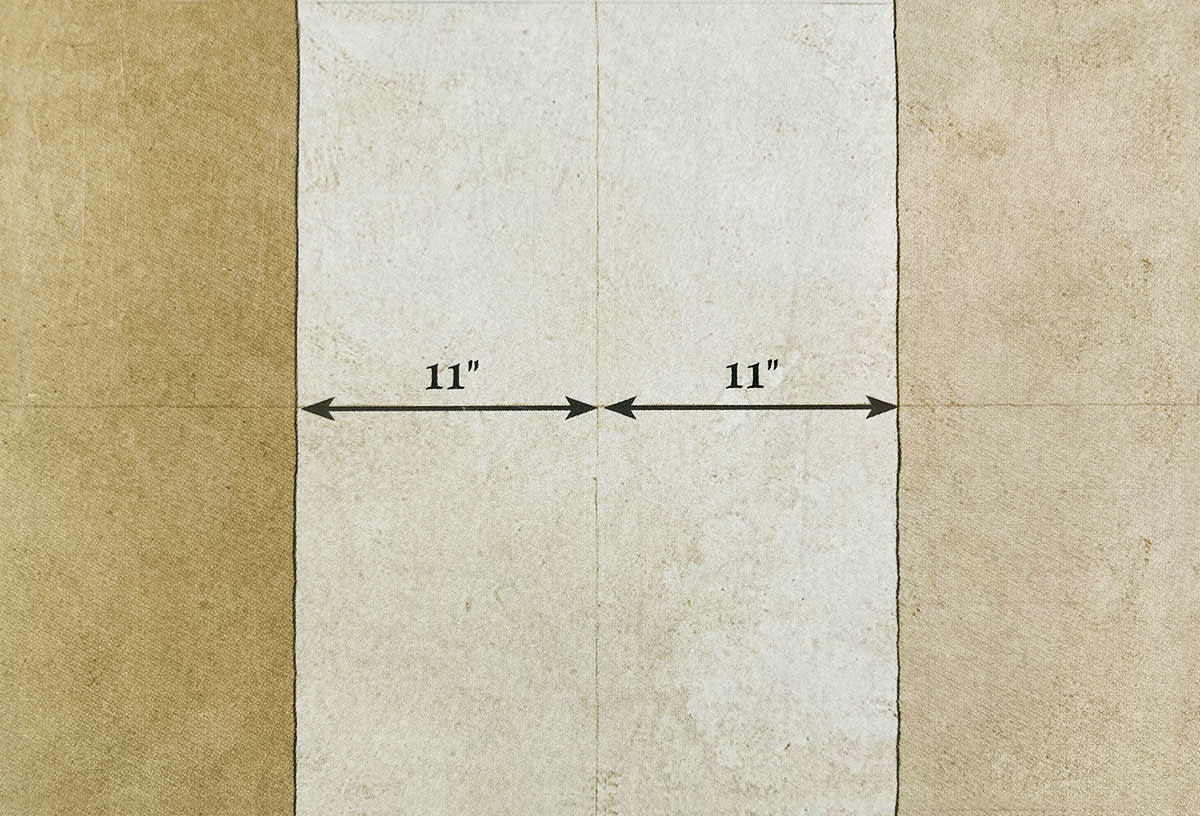
6. Outflank